I recently tried something for the first time -- making a mini mixed media house. I really enjoyed experimenting with different techniques, and so I figured I'd share the step by step process with you.
Enjoy!
Step 1: Cut a piece of cardboard to the desired size (I drew a rough outline with a pencil), and peel off the top layer.

This is what it looked like when I finished. Looking back I probably would have left a border on the house. You'll see why later.

Step 2: Cover the front and back with white gesso.

Step 3: select a variety of text weight (or lighter) paper. I've chosen travel themed scrapbook paper and stamps in neutrals with a pop of color here and there.

Step 4: Rip the paper and soak it in water. After it soaks for a 1-2 minutes it should be soft enough that it will mold to the creases in the cardboard. I adhered them with matte gel medium.
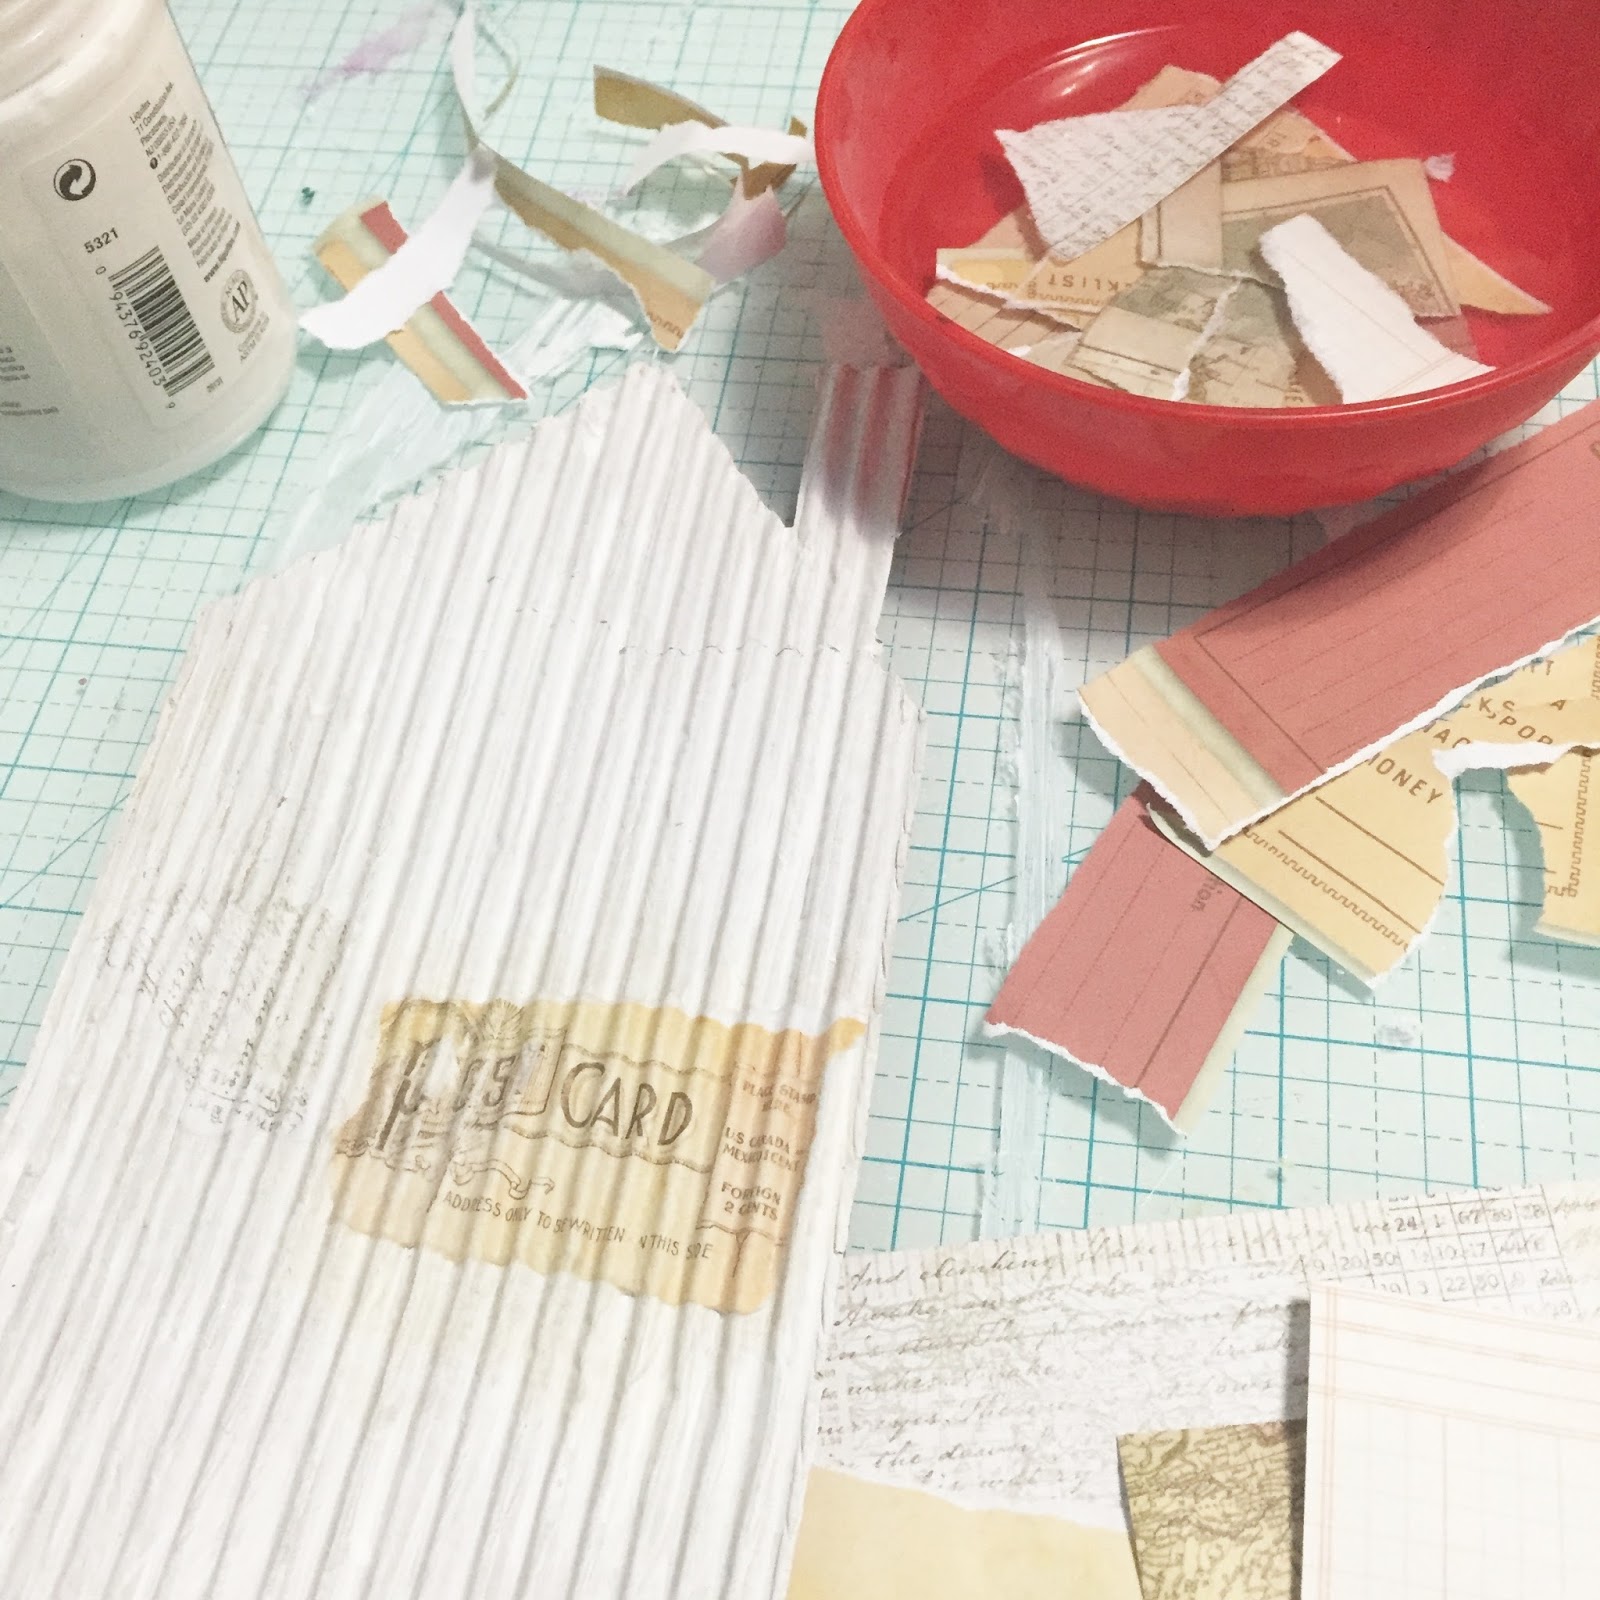
Here's a close up of how it looks completely covered. I can't stare at it too long or my eyes will start to cross. (>_<)

Step 5: So here's were I wish I would have a had a bit of foresight. Because I didn't leave a border when taking off the top layer the cardboard, I (1) had to create a mask, so I could apply textured paste to only the outside area. (2) had to use twice as much textured paste, because I had to fill in the valleys in preparation for the next step.

Step 6: After filling in the valleys with textured paste, I hit the whole thing with a heat tool, and then applied another layer of textured paste through a brick stencil.

Step 7: It's time to pick a few embellishments for the house. I chose a few items from the Gauche Alchemy kit (Kodak slide, cardstock tags, and the metal tag), and a couple of things I already had (canvas key tag from Michael's, and a leaf I cut with the Silhouette).

Step 8: I cut out the screen part of the metal tag, dyed it with alcohol ink, and then glued the tag to the back with Glossy Accents. I then glued the whole piece to the door area of the house with Glossy Accents

Step 9: I cut out the middle cardstock tag titled "sweet", ripped the edges, stamped "home" at the top, and wrote "home" at the bottom. I also glued this to the house using Glossy Accents.

Step 10: I covered the frame of the Kodak slide with white gesso, applied textured paste through the brick stencil, and attached it to the house with Glossy Accents. (As you can see, I love this stuff. It dries quickly and had great hold)

Step 11: I glued the leaf to the left side of the house.
Step 12: I wrote a little story on the back:
After globetrotting, sending post cards from distant lands, there's nothing like coming home... to find your car TPed. Oh, home, sweet, home."
Here are a few pictures of the finished project. As you can see, I wasn't paying attention, and covered part of my handwriting. oops!


Well, thanks for stopping by, and I hope you enjoyed it!
♥ Jackie